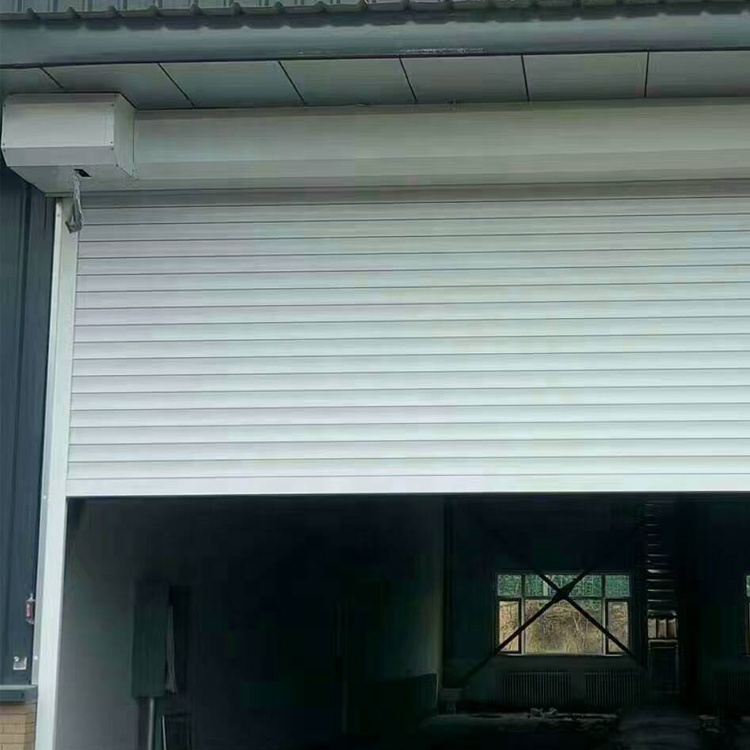
how to build shutter doors
Roller doors add a touch of elegance and functionality to any space, whether it’s a home, office, or commercial. With their versatility and timeless appeal, these doors have become a popular choice for many homeowners. If you want to improve your space with roller shutter doors, but don’t know where to start, you’re in the right place. In this guide, we’ll walk you through the steps on how to build your own roller shutter.
Step 1: Plan and Measure
Planning is essential before starting any DIY project. First determine the purpose of the rolling door. Are they used as interior room dividers or as functional exterior doors? Once you’ve determined their purpose, you can decide on the ideal size and style that will complement your space.
Measure the width and height of the doorway or opening where the rolling door will be installed. Take accurate measurements to ensure the door will fit perfectly when finished.
Step 2: Gather Materials and Tools
To build a rolling door, you will need the following materials:
1. Wooden board: High-quality wooden board is selected, which is strong and resistant to warping.
2. Hinge: High-quality hinge, which can support the weight of the door.
3. Screws: Appropriate screws for securing the plates and hinges.
4. Sandpaper: Sand the board smooth with sandpaper.
5. Paint or Stain: Choose the desired finish that matches your interior or exterior aesthetic.
6. Saw and miter box: These tools are necessary to cut the boards to size.
7. Drill bits: Drill bits must be used when installing hinges and screws.
Step 3: Cutting and Assembling the Roller Door
Based on your measurements, cut the boards to the desired height and width. If necessary, use a miter box to miter the cut for a more refined look. Sand the boards to ensure a smooth surface ready for painting or staining.
Next, align the planks horizontally, leaving a small gap for the shutters to fold up when opened. Fit the hinges to the top and bottom plates, making sure they are evenly spaced. Secure the hinges firmly with the screws, making sure they are securely fastened.
Step 4: Finishing touches
After the roller shutters are assembled, apply the finishing touches. Apply the paint or stain of your choice following the manufacturer’s directions. This step is critical to protecting the door from moisture, sunlight, and wear and tear.
Allow the door to dry completely before installing it in a doorway or opening. Install them carefully, making sure they open and close smoothly.
Building your own roller doors can be a satisfying experience that adds style and practicality to any space. By following this step-by-step guide, you can create stunning decor for your home or workplace. Remember that proper planning, accurate measurements and careful execution are critical to the success of a project. So roll up your sleeves, gather the materials, and start the exciting journey of building your very own rolling door.
